

How to Replace Motorcycle Drum Brake Shoes
Replacing the brake shoes on a motorcycle with a traditional drum brake is a relatively straightforward maintenance job, but because you're working on a critical safety system, it's important to work carefully and make sure everything is correctly assembled before riding.
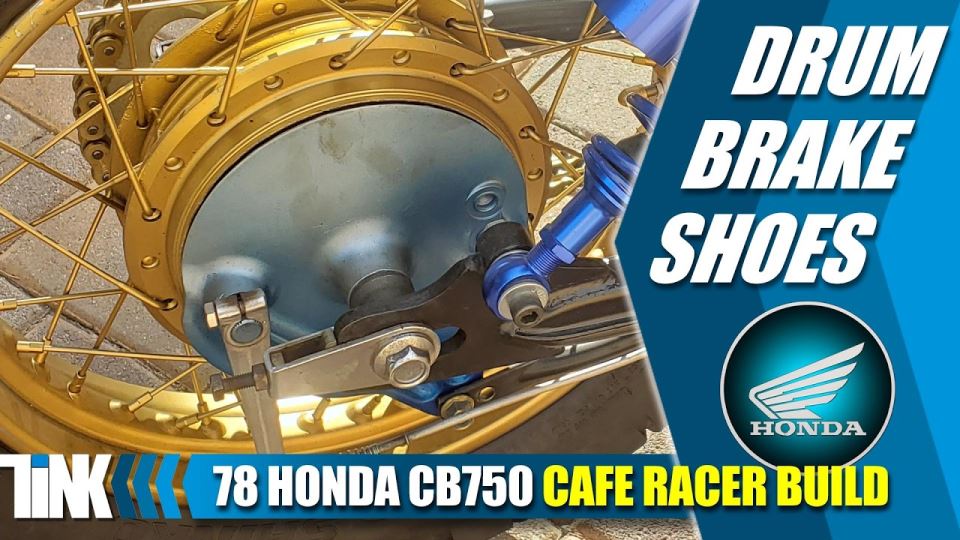
In this Tink Customs guide, we replace the rear drum brake shoes on a 1978 Honda CB750, showing how the old shoes are removed and how the new shoes are fitted.
Tools for Replacing Motorcycle Drum Brake Shoes
For this particular job, the tools are fairly basic:
-
Replacement brake shoes
-
Long-nose pliers
-
Large flat-blade screwdriver
-
Rubber mallet or rubber hammer
-
Cleaning materials
-
Appropriate safety equipment
The exact tools required will vary depending on the motorcycle and brake design.
How to Replace Motorcycle Drum Brake Shoes
1. Remove the Wheel and Brake Drum
Secure the motorcycle properly before beginning work.
Remove the rear wheel and brake drum assembly according to the motorcycle manufacturer's instructions. Make sure the motorcycle is securely supported before working around the wheel and brake assembly.
2. Remove the Old Brake Shoes
With the brake drum removed, inspect the existing shoes and the inside of the drum.
The old shoes can then be carefully removed from the brake assembly. On the CB750, a large screwdriver can be used to help lever the shoes away from their mounting points.
Take care when removing the shoes because the springs can be under tension.
Long-nose pliers can also be useful for handling the springs and other small components.
3. Inspect the Brake Components
Before installing the new shoes, inspect the complete brake assembly.
Check the brake drum for excessive wear, scoring or damage and inspect the springs, brake cam, pivot points and other components for signs of wear or corrosion.
Clean away brake dust and contamination using an appropriate brake-cleaning product.
Do not allow grease, oil or chain lubricant to contaminate the brake shoes or braking surface.
4. Fit the New Brake Shoes
Position the replacement shoes correctly on the backing plate.
Make sure the shoes are seated properly on their pivots and against the brake operating mechanism.
The springs and retaining components must be installed in their original positions and correctly seated.
If you're unsure about the orientation of the shoes or springs, refer to the motorcycle's service manual before proceeding.
5. Reassemble the Brake
Once the new shoes are installed, refit the brake drum and rear wheel according to the manufacturer's instructions.
Check that the brake assembly operates correctly and that the wheel rotates freely when the brake is released.
6. Adjust the Brake
Drum brakes generally require adjustment to provide the correct amount of brake pedal or lever travel.
Follow the motorcycle manufacturer's recommended adjustment procedure rather than relying on a generic measurement.
Make sure the brake is releasing fully when the pedal or lever is released and that there is no excessive drag.
Check Everything Before Riding
Brake work deserves a careful final inspection.
Before riding, check:
-
Brake shoes are correctly installed
-
All springs and retaining components are correctly positioned
-
Brake drum is clean and free from contamination
-
Wheel and axle are correctly installed and secured
-
Brake adjustment is correct
-
Brake operates smoothly
-
Brake releases fully without excessive drag
After installation, test the brake carefully at low speed in a safe area before returning to normal riding.
Replacing Drum Brake Shoes on a Honda CB750
This job was carried out on a 1978 Honda CB750 as part of the Tink Customs café racer project.
The CB750 uses a traditional rear drum brake, making it a good example of the type of old-school motorcycle brake system that you may encounter on classic bikes and café racer builds.
The video shows the complete process of removing the old shoes and fitting the replacements.
 Tools Catalogue
 Parts Catalogue
 Tips + Techniques